Dead bug style AVR controller for PLED
A simple LCD controller soldered in dead-bug style on a PLED. To program the controller AVR while soldered to the PLED, I first enabled DebugWire before soldering it. This allows the AVR to be programmed with only the reset pin (and ground) connected to the programmer. You'll need a JTAGICE mkII or Dragon to do this.
Step by step
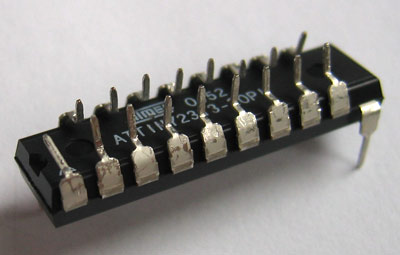
The AVR in its better days:
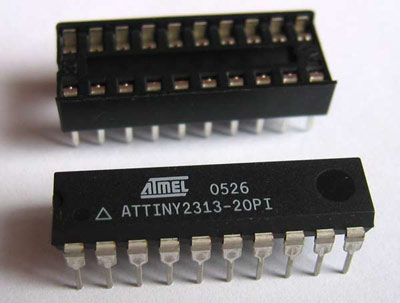
The AVR not so well anymore:

All except the outer pins now are on the top:
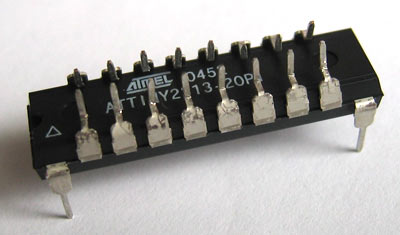
Power pins still on the bottom, but other two corners on top:
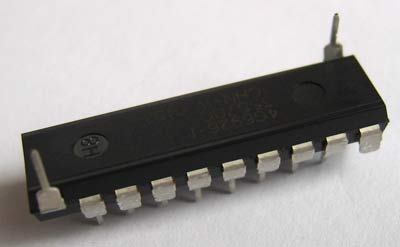
One pin amputated, the reset pin on top but not sticking out:
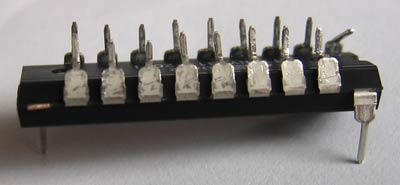
Top view of the same thing:
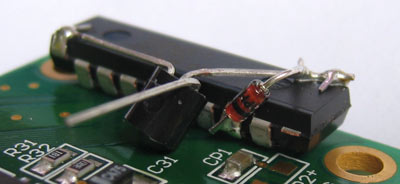
The components: The zener diode was to set the contrast pin to a certain voltage but this proved to be a mistake, I thought the contrast of the PLED had to be set to 3.3V but it turned out to be wrong. It is removed later. Other components are just a 78L05 and two 100nF caps.

Bunch of wire to supply power and to hang the PLED on something:

The inner AVR pins are now soldered to the PLED:
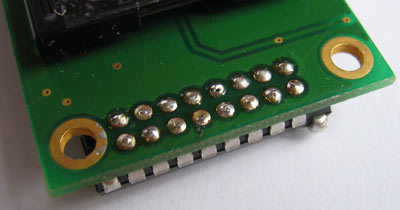
The reset pin is soldered to the gold plated drill hole. This is important since you can now program the AVR using the drill hole!

The voltage regulator connected to the power pins:

Useless zener added:
Capacitors for the voltage regulator:
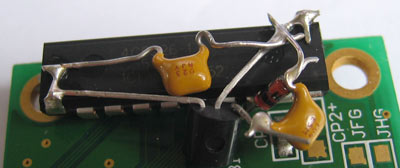
Finally, the wires are connected (and zener gone):

Everything is complete:

And it looks great!
